
How to Set Up a Smart Home Hub: A Beginner’s Guide for Canadian Homes

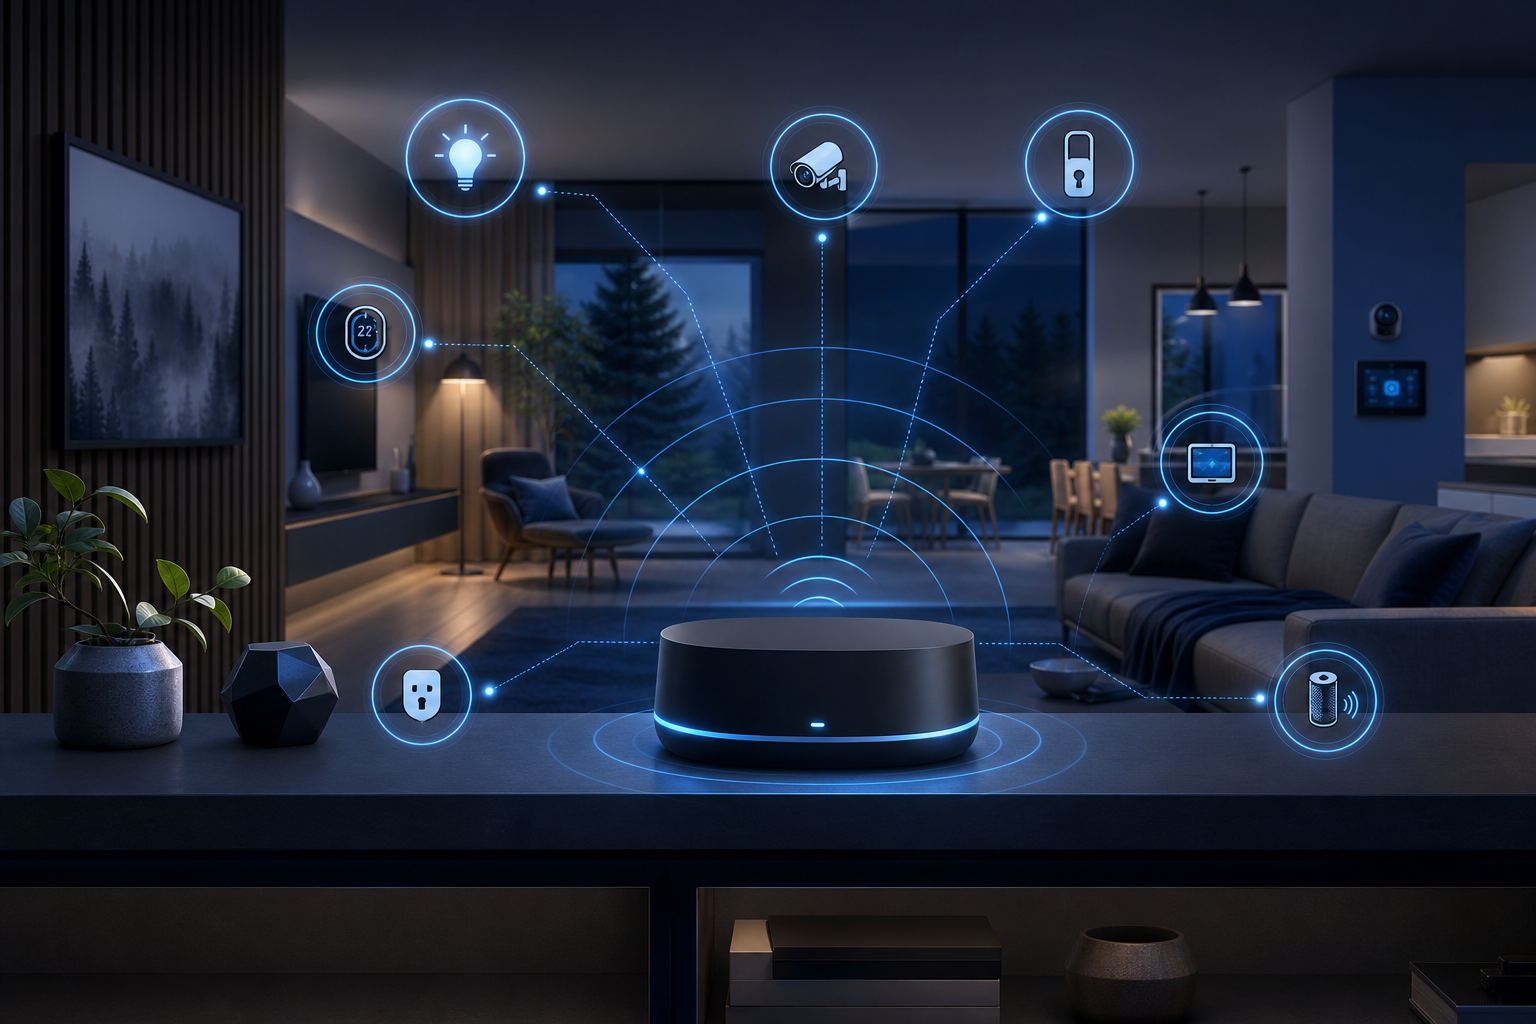
The hub is the piece of a smart home that quietly determines whether everything else works together or ends up as a handful of disconnected apps on your phone. Getting it right the first time — picking a protocol, placing it properly, and setting up your network correctly — saves you from re-doing your whole setup a year in.
What a Smart Home Hub Actually Does
A hub is the central device that lets your smart products communicate with each other and with a single app, instead of each device requiring its own separate app with no interaction between them. Hubs typically bridge one or more wireless protocols — commonly Zigbee, Z-Wave, or both — to your home Wi-Fi network, and increasingly support Matter, a newer cross-brand standard designed to let devices from different manufacturers work together regardless of which app you use to set them up.
Without a hub, purely Wi-Fi-based devices can still work individually, but you lose the ability to build automations that combine devices from different brands, and you typically need a separate app per manufacturer — which is manageable with two or three devices and increasingly frustrating past that point.
Step-by-Step: Setting Up Your First Hub
- Choose your primary protocol before buying. Decide whether Zigbee, Z-Wave, or a Matter-compatible hub best fits the devices you’re planning to buy — mixing protocols later is possible with the right hub, but starting with a clear primary protocol keeps the first setup simple.
- Place the hub centrally, not in a closet or basement corner. Since the hub is the coordination point for a mesh network, a central location with a clear line toward the rooms you’ll add devices to meaningfully improves range and reliability compared to tucking it away out of sight.
- Connect the hub to your router via Ethernet if possible. A wired connection to your router keeps the hub itself off Wi-Fi, freeing bandwidth and avoiding the hub becoming a point of failure if your Wi-Fi has a bad signal day.
- Complete the manufacturer’s initial setup in their app — this typically includes creating an account, connecting the hub to your home network, and any firmware update prompts, which are worth completing before adding devices rather than skipping.
- Add your first device and confirm the pairing process before buying more — this is the point where you confirm the hub, your phone’s app, and the device’s pairing mode are all working together as expected.
- Set up rooms/zones in the app early. Organizing devices into rooms from the start (rather than one long unsorted device list) makes both manual control and automation setup significantly easier once you have more than five or six devices.
Common First-Setup Mistakes
| Mistake | Why It Causes Problems | Better Approach |
|---|---|---|
| Placing the hub far from where most devices will live | Weakens mesh signal exactly where you need it most | Central, elevated placement near the main living area |
| Buying devices before deciding on a protocol | Can result in devices that need two separate hubs to all work | Pick primary protocol first, then buy devices that match it |
| Skipping firmware updates during setup | Older firmware is a common source of pairing failures and bugs | Update hub and device firmware before troubleshooting other issues |
| Not naming/organizing devices into rooms | Makes voice control and automations confusing as the system grows | Set up room structure before adding more than a few devices |
| Using guest Wi-Fi or a weak-signal network for the hub | Some guest networks block device-to-device communication needed for smart home traffic | Connect the hub to your main home network, ideally via Ethernet |
Building Your First Automation
Once your hub and first few devices are set up and responding reliably to manual control, the next step is a simple automation — something like a motion-triggered light or a scheduled thermostat adjustment. Starting with one simple, easily-verified automation before building a complex multi-device routine helps you confirm the hub is handling triggers reliably, which matters more once you’re relying on automations rather than manually checking each device.
